Document Library: Download Manuals and Literature
Raindrip catalogs, instruction manuals and other helpful literature.
Raindrip Timers: Frequently Asked Questions
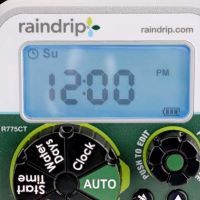
Get the most out of your Raindrip timer; let it take care of the watering for you.
Raindrip Kits: Frequently Asked Questions
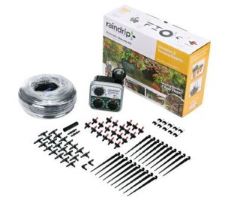
Get answers to the most common questions about Raindrip products
Tubing, Fittings and Emitters: Frequently Asked Questions
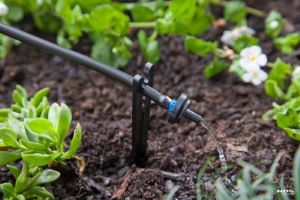
From drippers and tubing to fittings and more, answers are just a click away.
Explore the Raindrip Video Resource Library
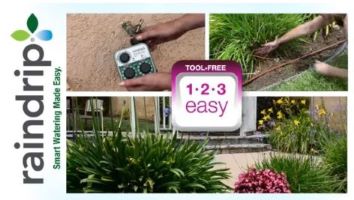
Helpful videos on drip products, techniques and water saving tips.
Drip Irrigation Articles and Helpful Tips
Learn about drip irrigation and ways to use water more efficiently