
5 Steps to Get Your Drip System Ready for Winter
30th Oct 2026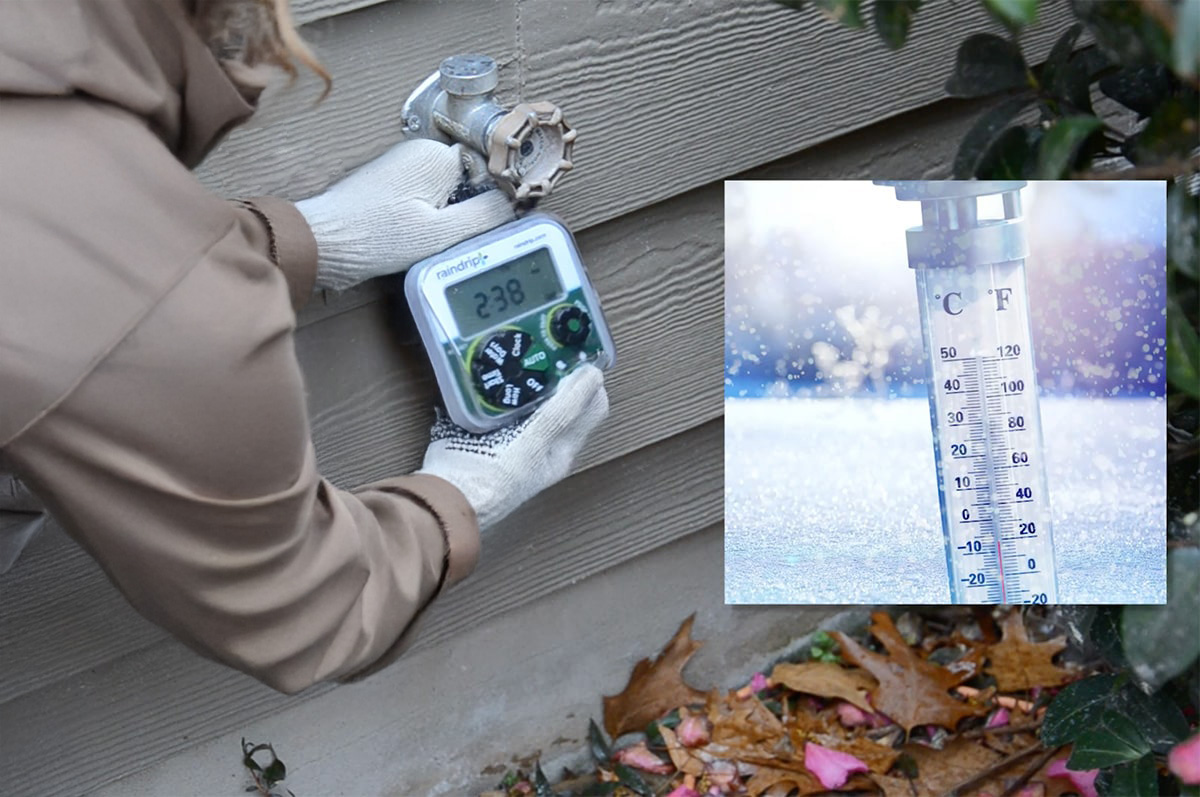
A little preparation now can help protect your drip watering system from hard freezes or occasional cold snaps, keep your drip irrigation equipment in good working order, and set your garden up for a successful spring growing season.
Before making any adjustments, take photos of your setup so you'll have a visual reference when it's time to start watering again. Then, follow these five steps to get ready for winter.
Step 1. Turn off the main water supply
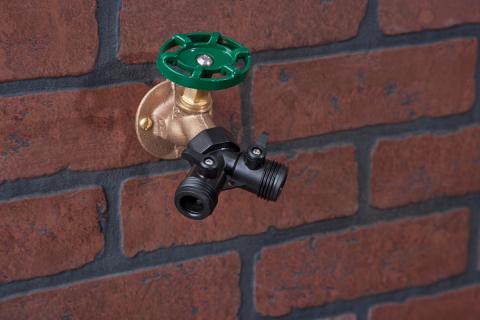
Start by turning off the water supply feeding your drip watering system, whether it’s an outdoor spigot or dedicated shutoff valve. This keeps water from entering the lines where it can freeze, expand, and cause damage like split tubing and busted valves.
DRIP TIP: If your outdoor hose bibb has an indoor shutoff valve, close it first then open the outdoor faucet to drain the line. Once the water has drained, shut off the outdoor spigot as well.
Step 2. Store sensitive components indoors
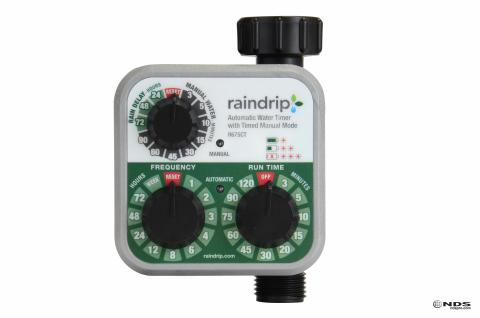
Disconnect removable filters, backflow preventers, pressure regulators, and timers. Drain any remaining water from the components then gently wipe off any dirt or debris. Store these parts in a dry, frost-free location and be sure to remove timer batteries to prevent corrosion, as shown in this short video.
DRIP TIP: In colder climates, you may want to insulate exposed shutoff valves and pipe. Foam insulation, insulating tape, and even plastic bags can help shield them from chilly temperatures.
Step 3. Drain water from your system
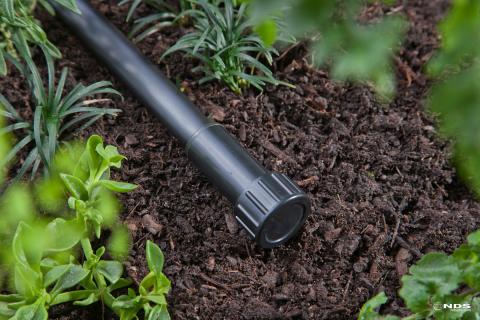
Drip tubing can typically be left in place during cold weather without problems as long as the water has been removed. Find the end of each line, then unscrew the end cap or slide off the end clamp to allow water to drain. Gravity will do most of the work, but you may need to gently lift sections of tubing to get the last drops out.
DRIP TIP: Once the water has drained, replace the end caps or clamps to keep debris and insects out over the winter.
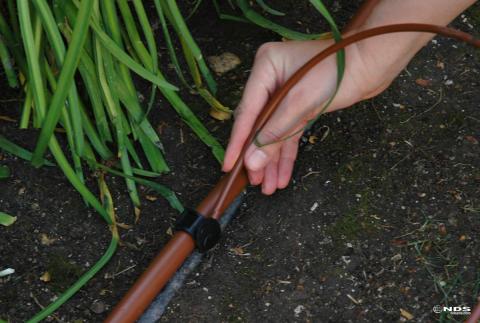
Step 4: Inspect your system for signs of wear
Give your drip system a quick checkup and take care of any necessary repairs before winter sets in and it's too cold to work outdoors. Replace missing emitters or damaged tubing, straighten any kinks, and move tubing back into position if it has shifted. Add stakes where needed to keep everything in place.
DRIP TIP: Keep the Drip Watering Fix-It Kit on hand for easy access to spare emitters, couplers, and other useful supplies for routine maintenance.
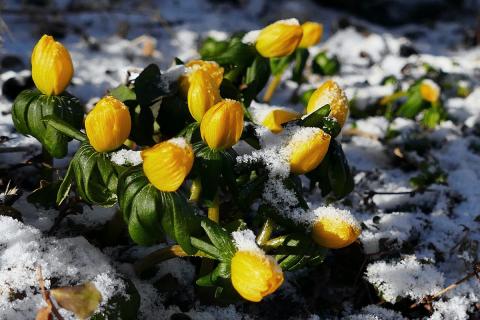
Step 5: Make your spring garden plan
Now that your drip system's ready for winter, you can start thinking about next year's growing season. Consider keeping a journal where you can make notes about your irrigation setup, track garden changes, and sketch out plans for new plants or additional watering zones.
DRIP TIP: Looking for fresh ideas? Follow Raindrip on Instagram and Facebook for helpful tips and explore the Raindrip Watering Kit Installation Guide for ways to expand your drip system.
A little preparation goes a long way
Winterizing your drip watering system is a smart way to keep it running smoothly for seasons to come. With the lines drained, sensitive components stored, and repairs complete, you’ll be ready to get back to watering and growing when the warmer weather returns.